How to Resin an Acrylic Pour Without Dust, Bubbles, or Regret
When I first started putting resin on my acrylic pours, I thought the resin was the hard part. It isn’t. The resin is the easy part.
The hard part is everything that happens in the twenty minutes before you mix a single drop.
I ruined more than one perfectly good pour by treating epoxy like a topcoat instead of a chemical reaction on a timer. Dust landed in it. Bubbles stayed in it. One piece never fully cured and stayed tacky for weeks.
So this post is the checklist I actually run now, in order, every single time. You can watch the whole thing here:
Learn to resin acrylic art in less than 5 minutes
So what actually ruins a resin coat?
Almost every resin failure comes down to one of four things: moving air, wrong temperature, a bad ratio, or an unlevel surface.
Notice that three of those four have nothing to do with the resin itself. They are room problems, and you solve room problems before you open a bottle.
There is a fifth thing that doesn’t ruin the painting, but can ruin you. So that is where I am going to start.
Before anything else, put your PPE on!
PPE – Personal Protective Equipment
I glossed over this in the video, and I shouldn’t have. Uncured epoxy is not paint, and it doesn’t behave like paint.
Uncured resin and hardener are sensitizers. That means each exposure makes your body more reactive to the next one, so the person who has resined a hundred pieces bare-handed is at more risk than the beginner, not less.
Wear nitrile gloves. Don’t use latex, because latex doesn’t hold up against epoxy chemistry.
Wear a respirator with organic vapor cartridges. A dust mask does nothing here, because what you are breathing is vapor and not particles.
Wear eye protection, and cover your arms if you are working over an open piece. And don’t clean uncured resin off your skin with acetone or alcohol, because solvents open your skin up and carry the resin in with them. Soap, water, and a paper towel first.
Once a sensitization reaction starts, it doesn’t go away. This is the one step in the whole process where the mistake follows you home.
Ventilate the whole time, except during the pour (1)
Here is the tension nobody talks about. Ventilation and dust control want opposite things.
Fresh air is what keeps you from breathing vapor. Moving air is also what lifts dust off the floor and drops it into your wet resin.
I don’t have a way to vent my space without stirring up dust, so I split the job by time. The door, the vent, and the window stay open through prep, cleanup, and everything else.
They only close from the moment I start mixing until the moment my piece is covered. That is the shortest window I can make it, and it is the only stretch where I trade air for a clean surface.
During that window, the room is dead still. Doors closed, AC off, heater vents off.
Any air moving through the room lifts dust and holds it there. That dust doesn’t stay up forever, and gravity eventually drops it right into your finish.
Imagine shaking out a blanket in a sunbeam. Where does all that floating dust end up? On the floor, eventually.
Your painting is now part of the floor.
The second that cover goes on, everything opens back up. Ventilation is the next most important thing I do, and it stays on for as long as the piece is curing.
If you can vent your space without kicking up dust, do that instead and leave it running the entire time. My workaround is a compromise, not the ideal.
Warm your bottles to room temperature (2)
Cold resin is thicker resin. Thicker resin holds onto air bubbles instead of letting them rise out and pop.
If your bottles are colder than your painting room, warm them up before you start. Mixing cold resin is one of the easiest ways to trap tiny bubbles that no amount of torching will fix later.
I set mine in a bath of warm water for a while. Don’t get water anywhere near the resin itself, because water in uncured epoxy causes cloudiness and soft spots.
Add humidity, but only if you need it (3)
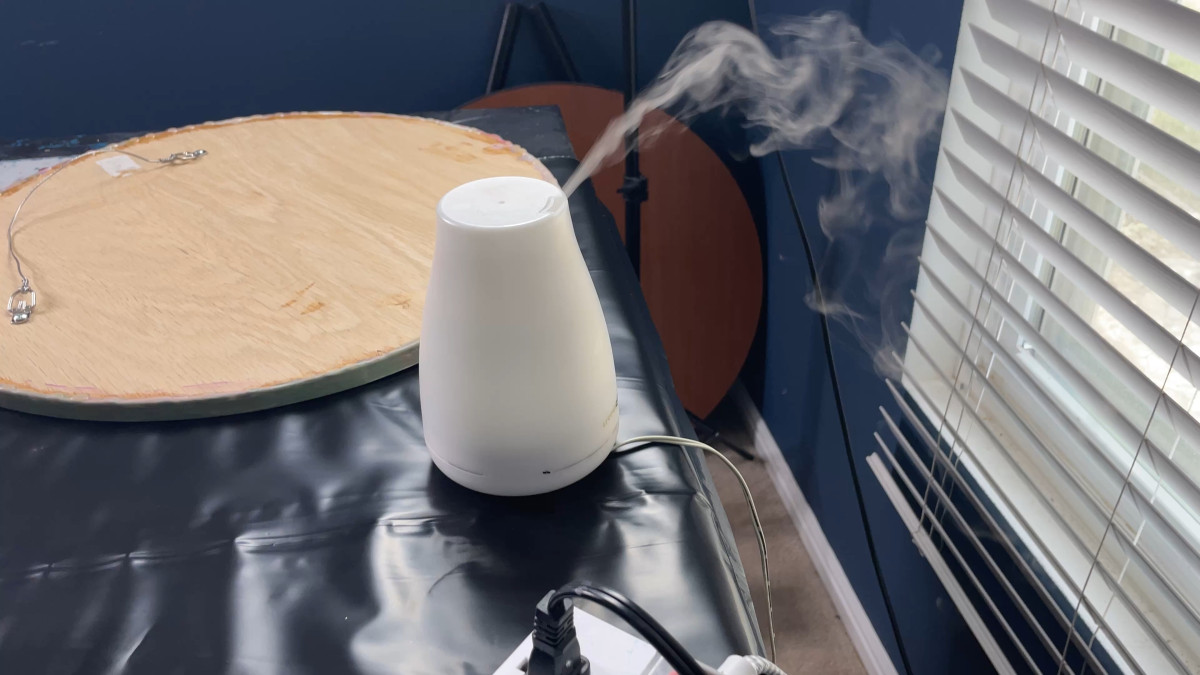
This next part is specific to me, and it may not apply to you at all.
I live somewhere dry. Dry air means dust doesn’t settle, it just floats around waiting to land. Not what you want when you are doing resin.
So about 15 to 20 minutes before I pour, I run a diffuser in the room. The added moisture gives dust particles enough weight to actually drop to the floor instead of drifting onto my piece.
If you are not somewhere dry, skip this step. It is a fix for a dry air problem, not a universal resin step.
Vacuum early, then mist the floor (4)
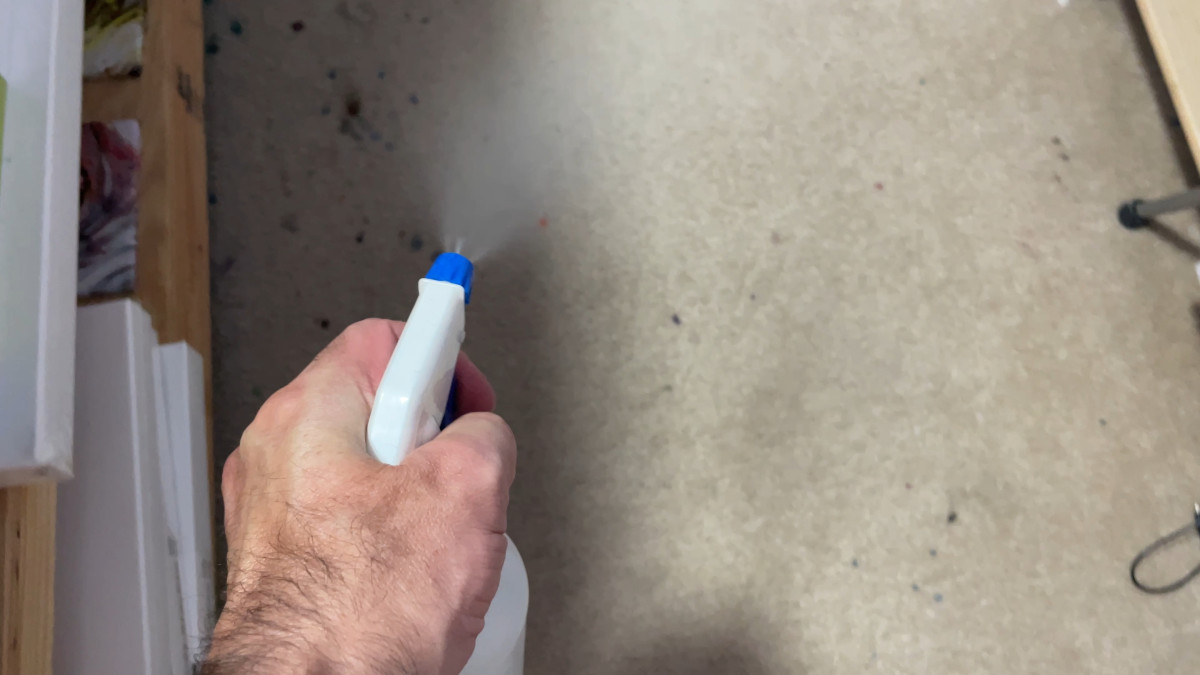
I picked this one up from Olga Soby, and it made a bigger difference than I expected.
Vacuum at least 30 minutes before you start. Vacuuming stirs up as much as it removes, and that half hour is what gives the leftovers time to fall.
Then lightly mist the carpet and floor around your workspace. Every time you walk around during a pour, you kick dust and carpet fibers back up into the air.
A light mist keeps that settled while you are moving around the table.
I pick this tip up from Olga Soby’s Epoxy Resin Clear Coating course. If you need more help that what I have provided here I highly recommend you check it out. Use code DAVID to get 10% of your purchase.
Tape off the backs (5)
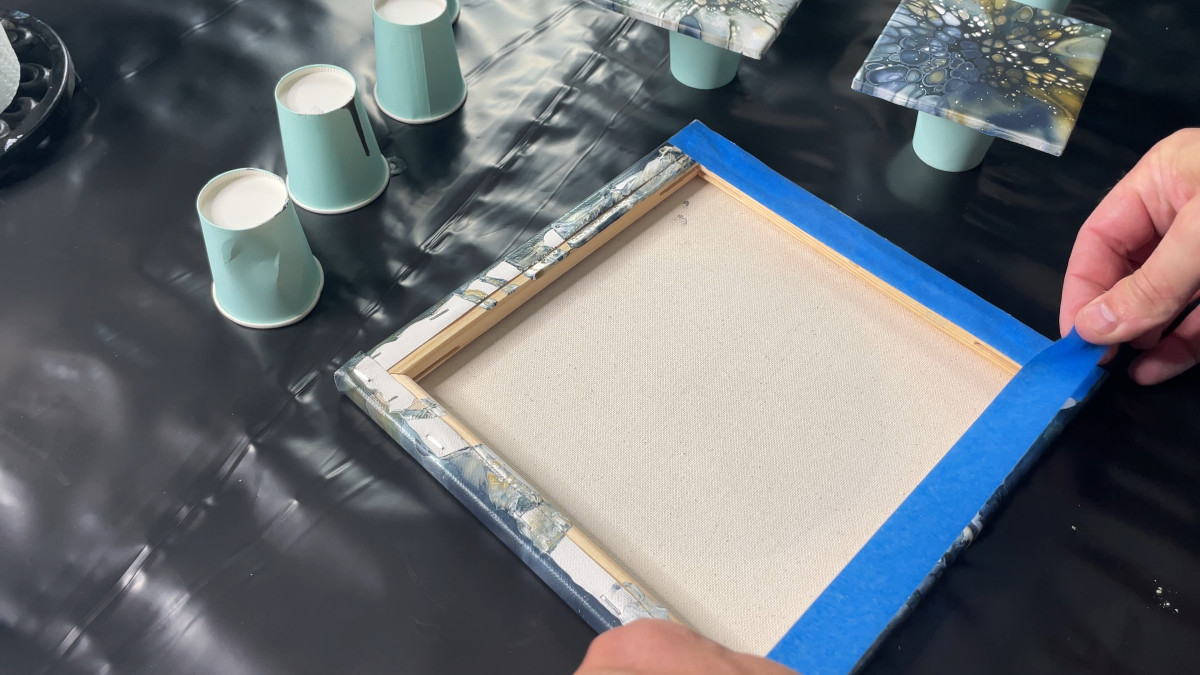
I use green or blue painters tape on the back edge of every piece.
Resin drips. It runs off the edge, wraps around the back, and cures into a hard ridge you have to sand.
Getting dried resin off of tape is way easier than getting dried resin off of your artwork. You have been warned!
Do this before you level and before you wipe down. Taping means handling every piece, flipping it over, and pressing along the edge, and all of that leaves fingerprints and nudges your level. I had this out of order in the video and a viewer caught it, rightly so.
Raise everything up and check your level (6)
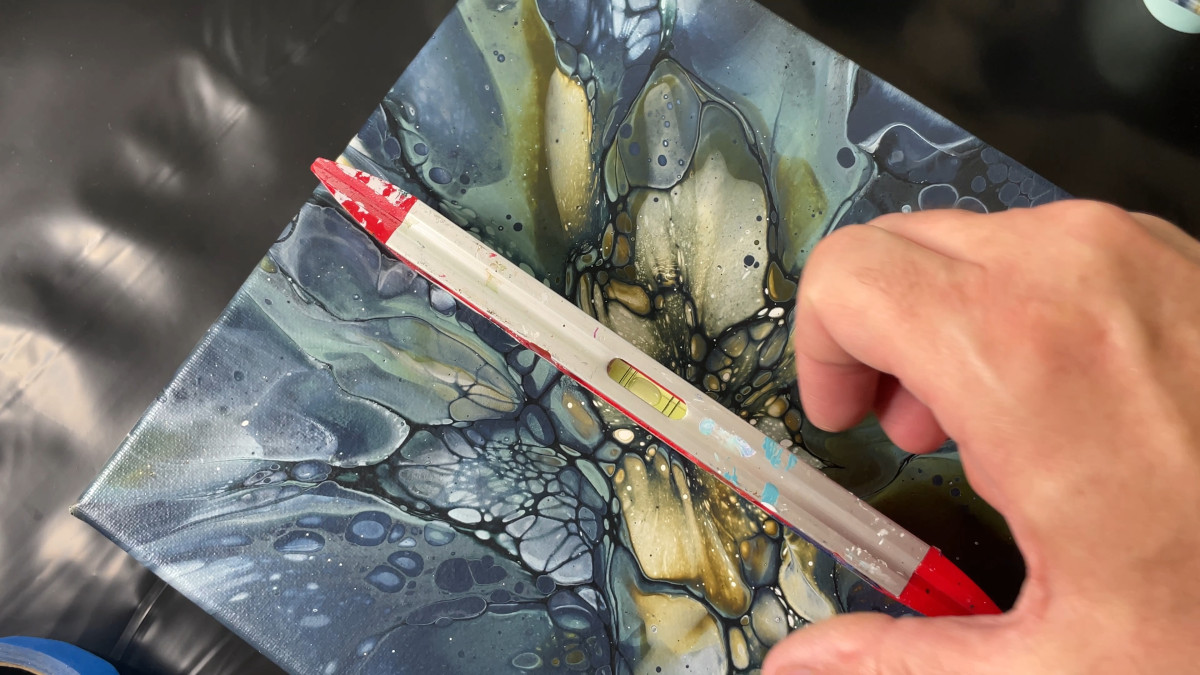
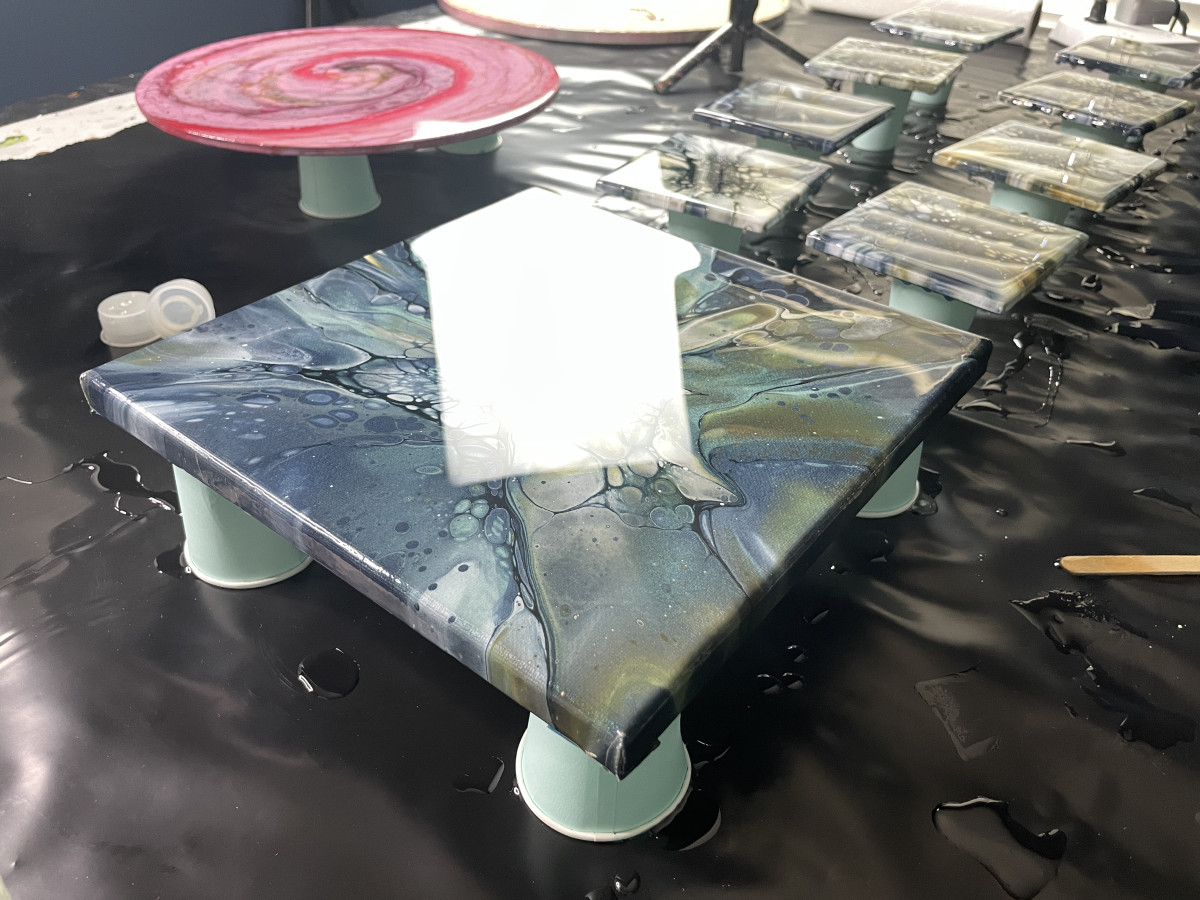
Everything gets raised up on painters pyramids or plastic cups. That way any resin that runs off the edge drips clean instead of pooling underneath and gluing your piece to the table.
Level matters more than people expect. Epoxy self-levels, which means it will find the low side of your canvas and pull toward it.
I check every single piece with a level in more than one direction. On a 12×12 canvas, even a slight tilt is not subtle, and you will see the thin edge after it cures.
Once a piece is leveled, don’t pick it back up. Anything you still need to do to it should already be done.
Wipe down, and seal only if the surface is porous (7)
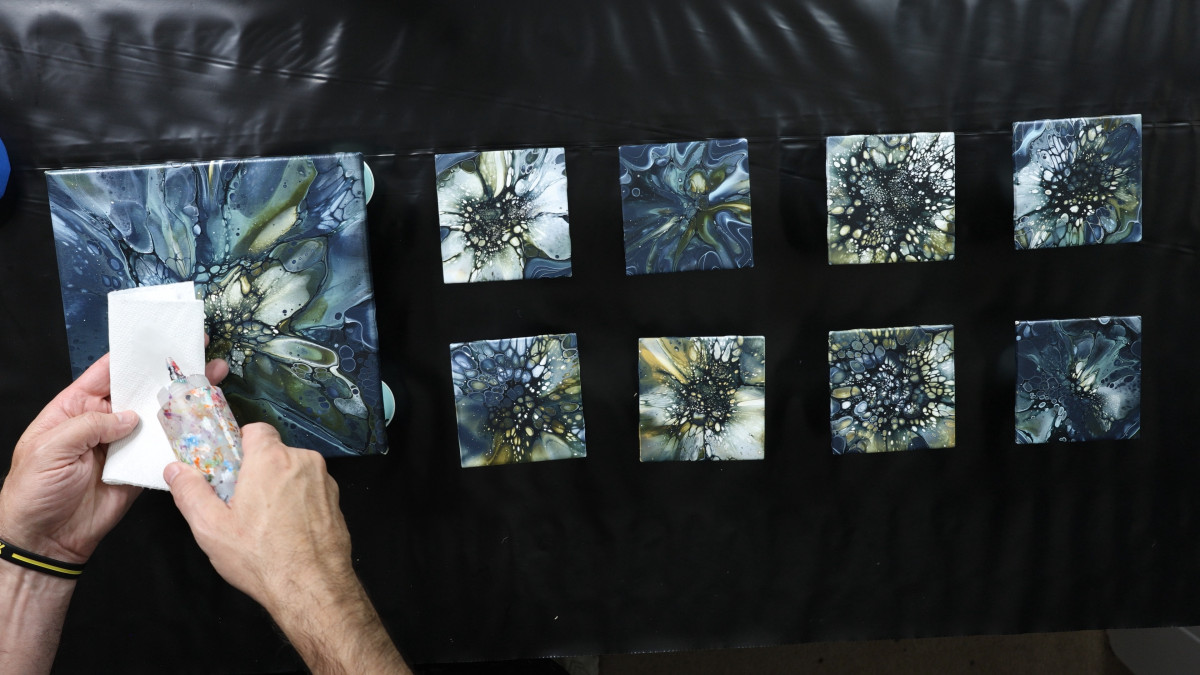
Clean, dry, no grease. Fingerprints and oils create fisheyes, which are small round craters where the resin pulls away from the surface.
This is the last thing that touches the surface, which is exactly why it goes last. Wipe before you tape and you are just cleaning a piece you are about to put your hands all over again.
I was working on tile and a finished canvas that day, so I skipped the seal coat. A seal coat is only a step for raw wood, unsealed hardboard, or anything else porous enough to soak up resin unevenly.
Lay everything out within arms reach (8)
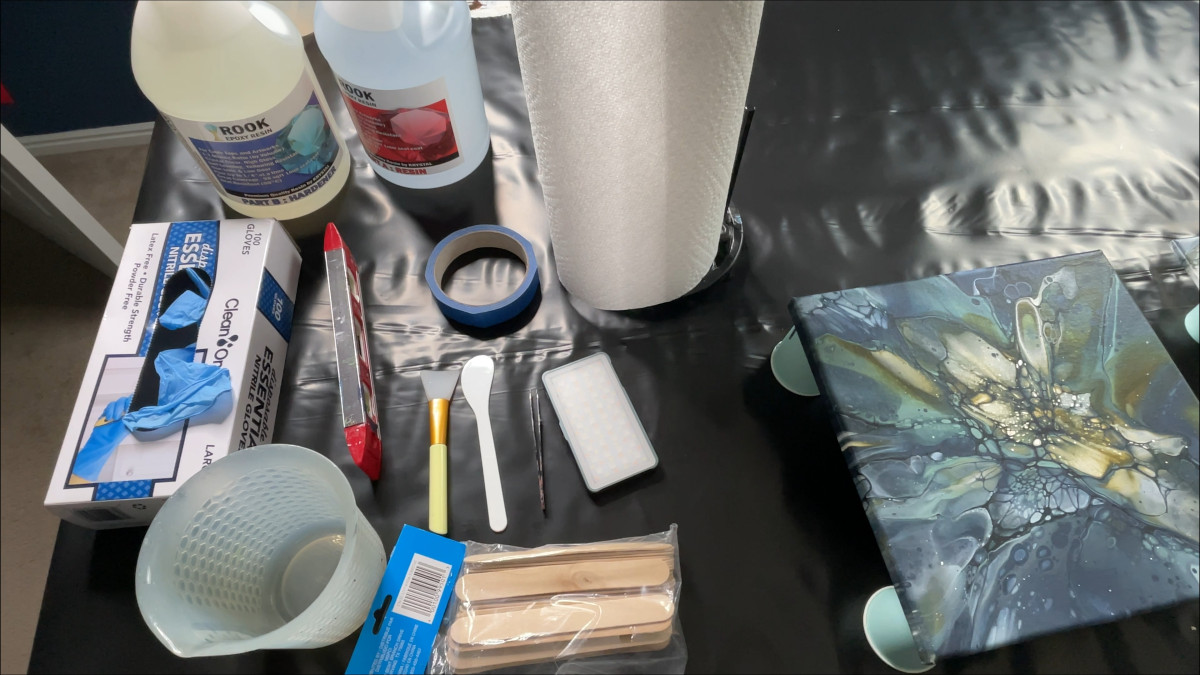
Cups, stir sticks, gloves, torch, and a cover for after the pour. All of it, on the table, before you mix.
Once resin is mixed, you are on a working timer. You don’t want to be hunting through a drawer for your torch while the clock runs.
Mix it right, and mix it longer than feels necessary
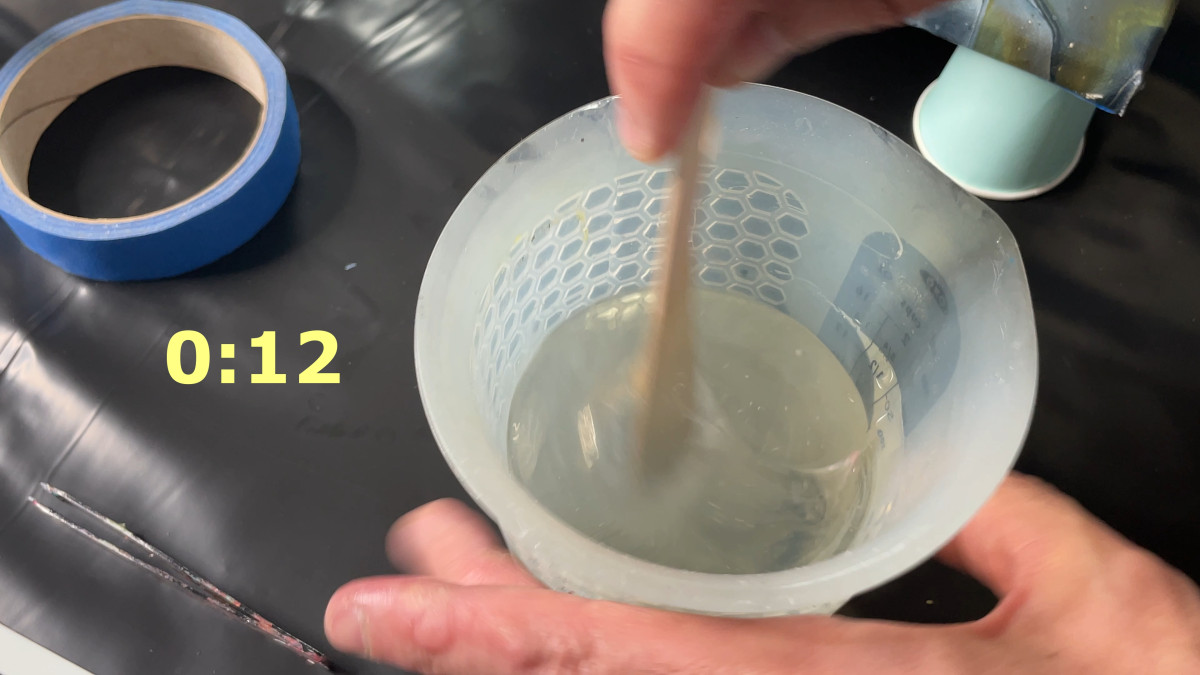
My resin is one to one by volume, equal parts resin and hardener. Check your own bottle, because some brands mix by weight and the numbers are not the same.
That ratio isn’t a suggestion. Epoxy cures through a chemical reaction between two parts, and if one part is short, there is nothing for the extra to react with. Get it wrong and the resin can stay soft and never fully cure, no matter how well you mix it otherwise.
I mix for a full 4 to 5 minutes according to the manufacturer’s instructions. Scrape the sides and the bottom of the cup the whole time, because unmixed resin hides in exactly those two places.
It will turn cloudy white first. That is just the two parts combining and it is completely normal.
Keep going, without wiping the stick, until every streak of cloudiness is gone and the mixture is clear again.
The pour itself is the boring part
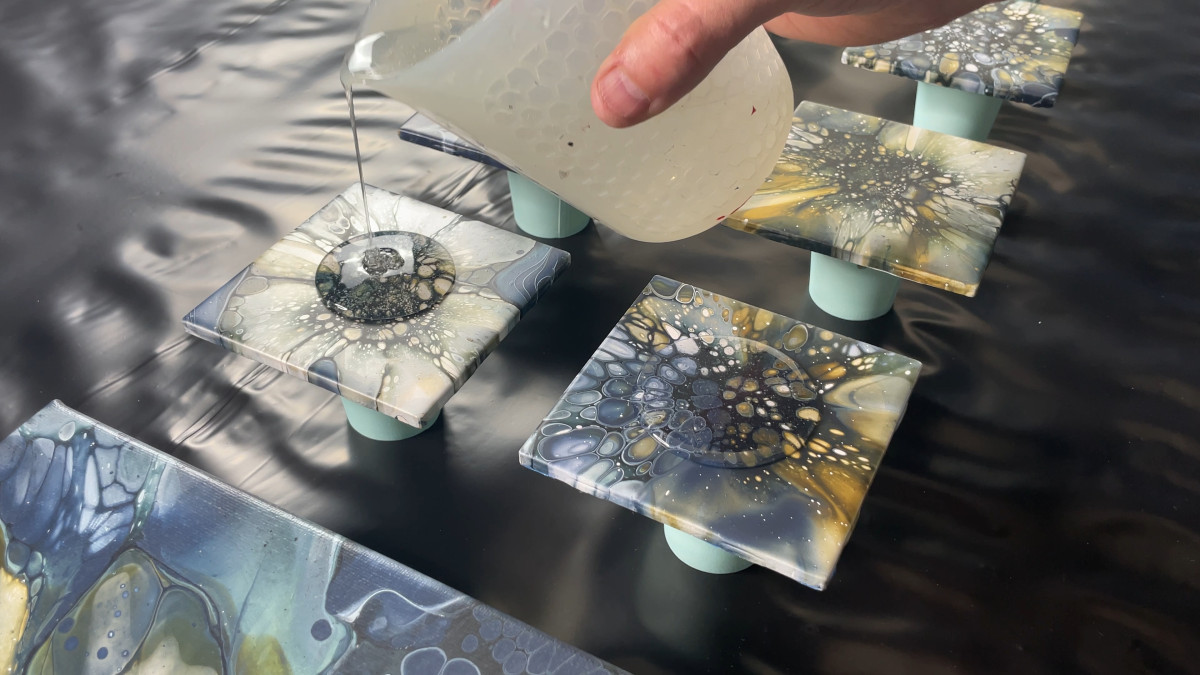
I start with the coasters, since small pieces go fast. A small pour in the center of each tile, then spread to the edges with a stick or a gloved finger, then let it self-level.
I keep the amount consistent across all eight so they finish at the same thickness.
For the 12×12, I pour in a zigzag across the whole surface. Then I spread it corner to corner with my hands or a silicone tool, and use my glove to cover the edges. Anything extra runs off the edge and onto the tape.
Then the torch. Six to eight inches above the surface, constantly moving.
The heat breaks the surface tension of the bubbles so they pop. Don’t hold it in one spot, because lingering will scorch the resin and leave a yellow patch you cannot undo.
Every time you torch, use your leveling tool or a stick to scrape the dripped resin off the bottom edge of each piece. The less resin sitting on the tape, the easier it is to remove later. Those drips can also keep pulling resin down off the top as they hang there.
Then cover everything up, walk away, and let it cure.
Bonus tip. Have a couple of extra pieces prepped in case you have resin left over. We don’t want that to go to waste.
All that setup at the front end is what makes this last part boring. Boring is exactly what you want while your resin cures.
Where I learned to stop guessing
Here is the part where I have to be honest with you.
You can absolutely learn all of this for free. There is a lot of good resin content on YouTube, including mine, and I am not going to pretend otherwise.
But free content is scattered. You learn the diffuser trick in one video, the seal coat rule in another, and you find out about fisheyes after you have already ruined a painting.
I took Olga Soby’s Epoxy Resin Clear Coating course to fill in the gaps, and the floor misting trick above came straight out of it. Having the whole process laid out in order saved me a fair amount of trial and error, and trial and error in resin is expensive.
Olga Soby’s Epoxy Resin Clear Coating Course – use code DAVID for 10% off any course at SobyArtAcademy.com.
That is an affiliate link, so I get a small commission if you use it. It doesn’t cost you anything extra, and the code takes 10% off either way.
This is the second course of Olga’s that I have recommended here. The first was her Secret Recipe for Fluid Art Success, which I reviewed a while back.
I recommend it the same way I would recommend a good level. It is a tool that removes guesswork, and if you would rather work it out yourself, that is a completely reasonable choice.
Final thoughts
If you only take one thing from this post, take this. The resin is not where you win or lose. The room is.
Gloves and a respirator on, air moving except during the pour itself, bottles warm, level checked twice, and mix longer than feels necessary. Do that and the pour part gets boring, which is the goal.
Your first resin coat may have a dust speck or a dimple in it. That is OK though. Write down what the room was doing that day, and you will know what to change on the next one.
Now get to pouring!